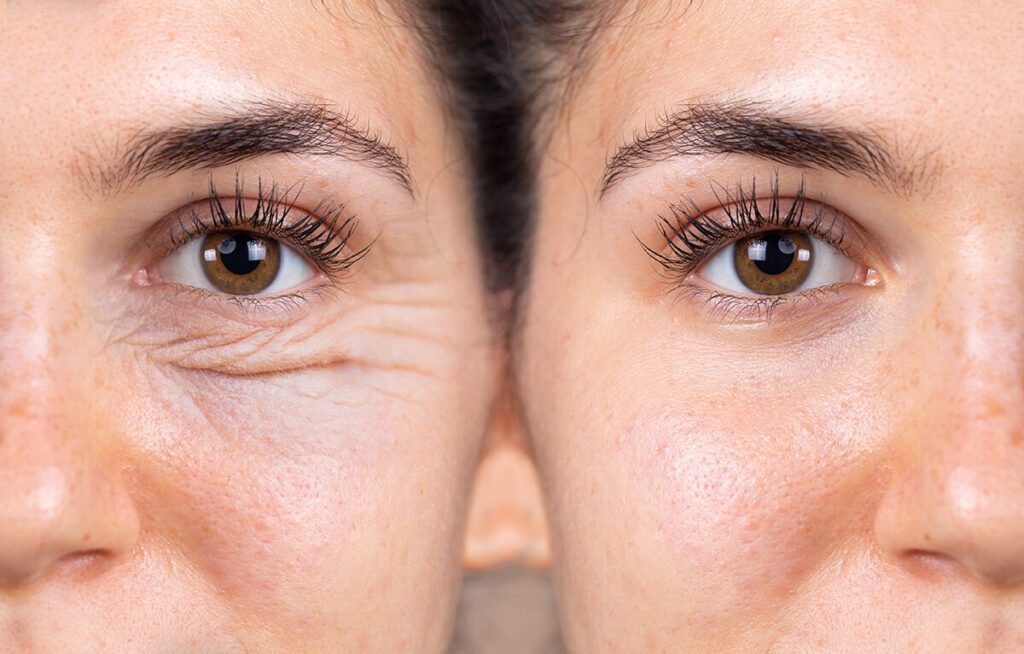
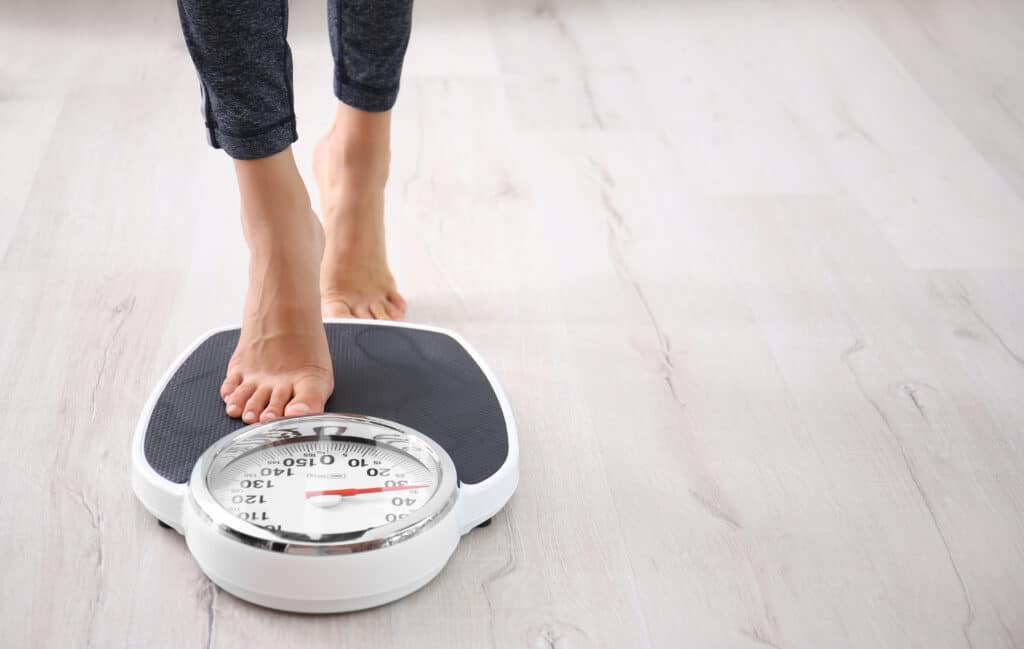
Understanding Fat Reduction
Definition
Fat reduction involves the targeted removal of fat adipocytes. It differs from weight loss, which is a general decrease in body weight, and fat reduction approaches. Weight loss can result from losing water, muscle, or adipose tissue. Fat reduction techniques focus specifically on reducing fat cells.
Lipolysis Process
Lipolysis is the body’s natural process for breaking down fats, involving hydrolysis of triglycerides in lipid droplets to release fatty acids. It converts triglycerides stored in fat cells into free fatty acids and glycerol through injection lipolysis, radiofrequency lipolysis, laser lipolysis, and insulin. These components are then used for energy. This process is essential for understanding how various fat reduction procedures like laser lipolysis, injection lipolysis, and radiofrequency lipolysis work on fatty acids.
Lifestyle Factors
Diet and exercise play crucial roles in fat reduction. A balanced diet helps control calorie intake, ensuring that fewer calories are stored as triglycerides and glycerol. Regular exercise promotes the breakdown of triglycerides into glycerol, aiding in the reduction of fat cells.
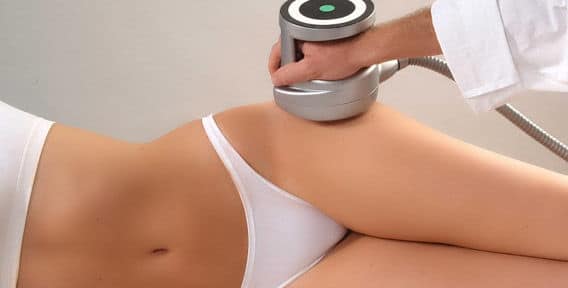
How Non-Surgical Options Work
Disrupting Fat Cells
Non-surgical fat reduction treatments work by disrupting fat cells without invasive procedures, releasing glycerol. These methods target specific areas of the body, breaking down fat cells. The body then naturally processes and removes these fat removal cells over time. This approach avoids the need for surgery.
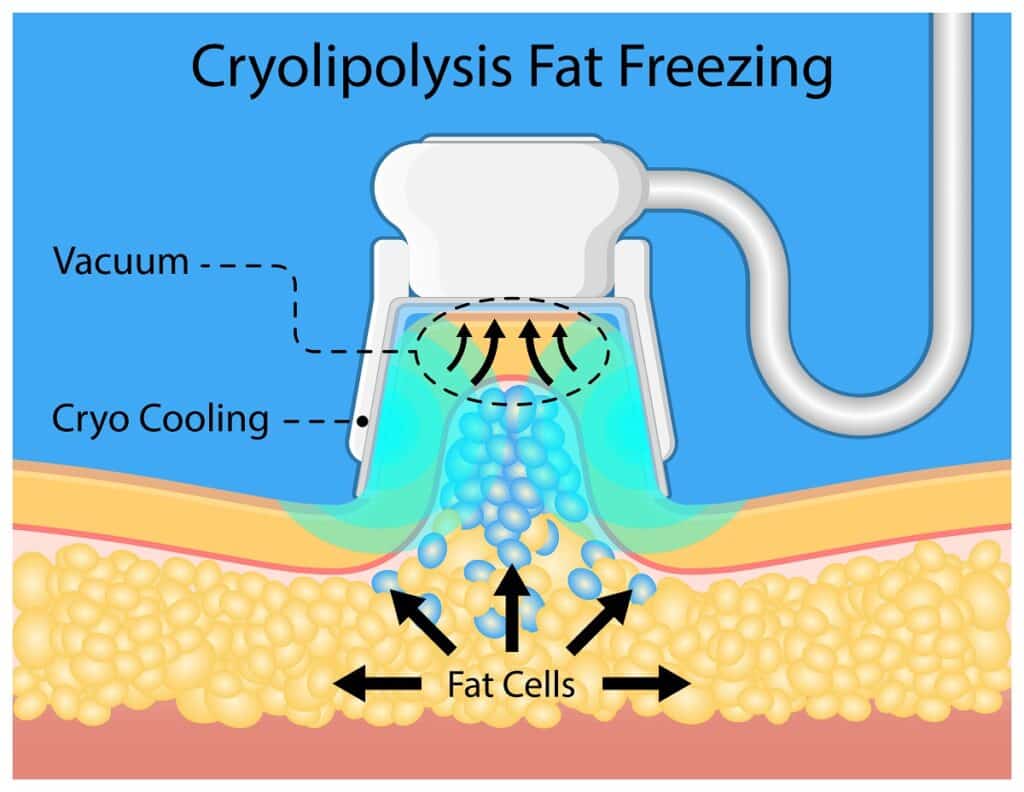
Cryolipolysis
Cryolipolysis is a popular non-surgical method. It uses controlled cooling to freeze fat cells. The cold temperature destroys the fat cells, which are then naturally eliminated by the body. This process can take several weeks or months. Cryolipolysis is effective for fat removal in areas like the abdomen, thighs, and arms.
Laser Therapy
Laser therapy uses heat to target and break down fat cells. The laser energy penetrates the skin, heating the fat cells until they are damaged. Once damaged, the body’s natural processes remove them. Laser therapy is often used for smaller areas such as the chin or neck.
Radiofrequency
Radiofrequency (RF) technology uses radio waves to generate heat within the fat layers. This heat breaks down the fat cells, which are then processed by the body. RF treatments can also tighten the skin, providing a dual benefit. RF is suitable for various parts of the body, including the face and stomach.
Benefits of Non-Surgical Options
Non-surgical fat reduction offers several benefits compared to traditional surgery:
- Minimal downtime: Patients can return to their daily activities quickly.
- Reduced risk: There are fewer complications compared to surgical procedures.
- Accessibility: Many people find these treatments more accessible and less intimidating than surgery.
These benefits make non-surgical options appealing for those seeking fat reduction without major disruptions to their lives.
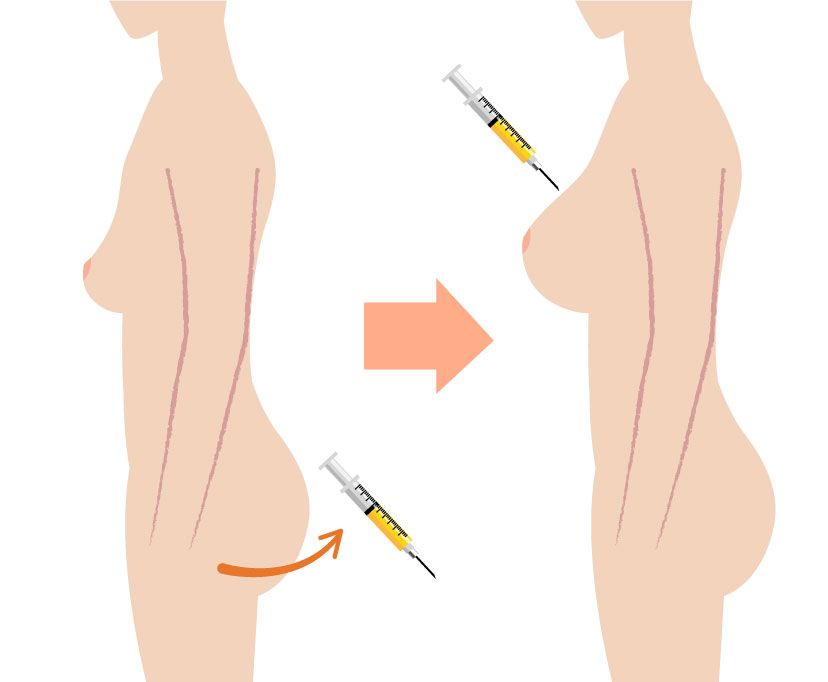
Exploring Fat Loss Technologies
Liposuction
Liposuction is a popular fat removal technology. Developed in the 1970s, it involves removing fatty tissues through suction. Surgeons make small incisions and insert a cannula to break up fat.
Invasive liposuction can be painful. Patients often need weeks to recover. Despite this, it remains effective for large-volume fat removal.
Ultrasound
Ultrasound technology offers a non-invasive alternative. It uses sound waves to target and break down fat cells. The body then naturally processes and eliminates these cells.
This method reduces recovery time. Patients experience less discomfort compared to traditional liposuction. It’s suitable for smaller areas of fat.
Cryolipolysis
Cryolipolysis is another modern technique. It involves freezing fat cells to kill them. The body later removes these dead cells through its natural processes.
Patients report minimal pain with cryolipolysis. There’s no need for anesthesia or incisions. It’s effective for treating localized fat deposits.
Radiofrequency
Radiofrequency (RF) treatments use energy waves to heat and destroy fat cells. This method also stimulates collagen production, tightening the skin.
RF treatments are non-invasive. They offer a double benefit of fat reduction and skin tightening. Recovery time is short, and side effects are minimal.
Laser Lipolysis
Laser lipolysis uses laser energy to liquefy fat before removal. This technique can be less invasive than traditional liposuction.
The laser also promotes collagen production, improving skin texture. Patients experience quicker recovery times and fewer complications.
Research and Development
Ongoing research drives advancements in fat loss technologies. Scientists explore new methods to target adipose tissue more effectively.
Future trends include combining multiple technologies for better results. For example, using ultrasound with radiofrequency may enhance fat breakdown and skin tightening.
Researchers also study the role of hormones like insulin in fat storage and metabolism. Understanding these mechanisms can lead to new treatments that regulate fatty acid levels in the body.
Patient Satisfaction
Modern technologies improve patient satisfaction significantly. Non-invasive methods reduce pain and recovery time. They also lower the risk of complications compared to invasive procedures.
Patients appreciate the convenience of treatments like ultrasound and cryolipolysis. These methods allow them to return to daily activities quickly.
Cryolipolysis and Its Mechanism
Controlled Cooling
Cryolipolysis uses controlled cooling to target fat cells. The process cools fat to a temperature that triggers its natural death. This technique does not harm the skin or other tissues.
Fat cells are more sensitive to cold than other cells. By exposing them to cold, cryolipolysis induces apoptosis. Apoptosis is a form of cell death where cells break down naturally.
Fat Cell Death
Once the fat cells undergo apoptosis, they collapse. The body’s immune system then processes these dead cells. Macrophages, a type of white blood cell, digest the dead fat cells.
The body gradually eliminates the digested fat cells over several weeks. This results in a reduction of the treated fat layer. Visible results usually appear within two to three months.
Treatment Process
A cryolipolysis session typically lasts about an hour. During the session, a device applies suction to pull the targeted area into an applicator. The applicator then cools the fat cells to a precise temperature.
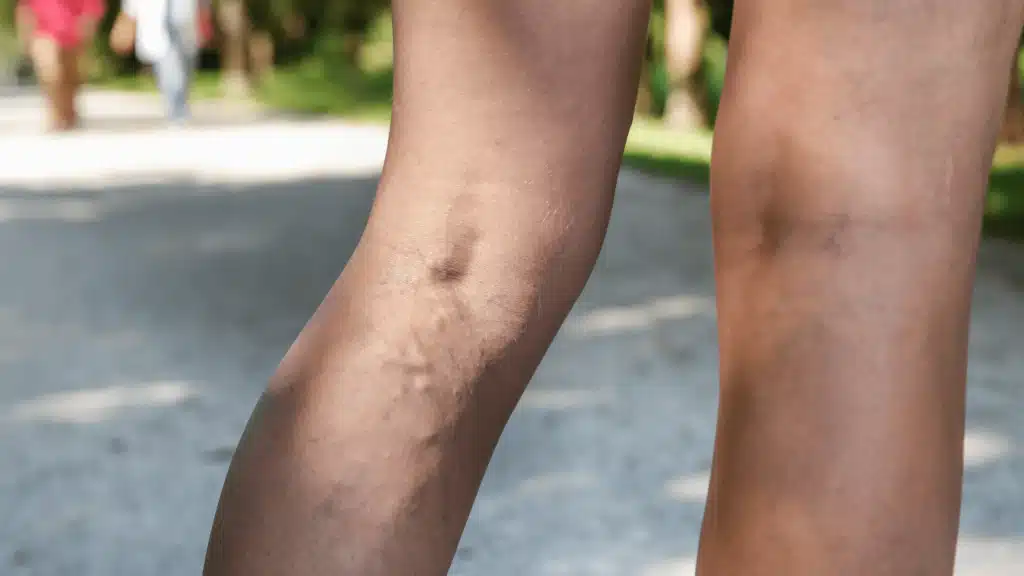
Patients may feel intense cold initially, followed by numbness in the treated area. After treatment, there might be temporary redness or swelling. These side effects usually resolve within a few days.
Specificity for Localized Fat
Cryolipolysis is effective for treating localized fat deposits. It is particularly useful for areas like the abdomen, thighs, and flanks. This method is not suitable for overall weight loss but targets stubborn fat pockets.
Other methods like surgical liposuction can remove larger volumes of fat but come with more risks and longer recovery times. Cryolipolysis offers a non-invasive alternative with minimal downtime.
Advantages Over Other Methods
Compared to other fat reduction techniques, cryolipolysis has several advantages:
- Non-invasive: No surgery or needles involved.
- Minimal downtime: Patients can resume normal activities immediately.
- Targeted treatment: Focuses on specific areas of fat accumulation.
- Gradual results: Natural elimination process looks more subtle and natural.
Other methods like injection lipolysis involve chemicals to dissolve fat, which can cause more discomfort and potential complications. Physical lipolysis methods like radiofrequency lipolysis use heat but can affect surrounding tissues.
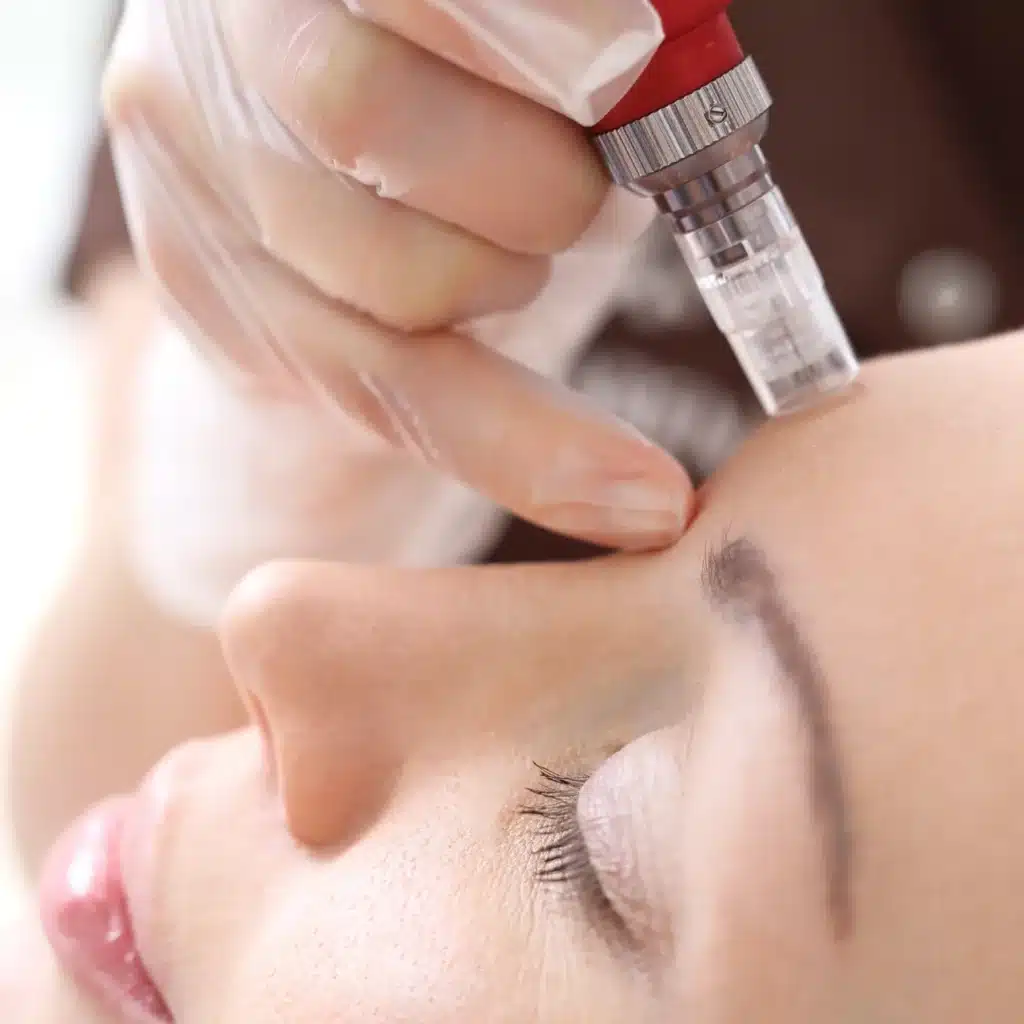
Laser Fat Reduction Basics
How It Works
Laser fat reduction uses focused light to target fat cells. The laser heats and destroys these cells without harming nearby tissues. This method is less invasive than traditional liposuction. The destroyed fat cells are then naturally eliminated by the body.
Types of Lasers
There are different types of lasers used in fat reduction. One common type is low-level laser therapy (LLLT). LLLT uses a cold laser to break down fat cells. It penetrates the skin without causing damage. Another type is laser lipolysis, which uses a higher-intensity laser to melt fat.
Treatment Protocol
A typical laser fat reduction treatment lasts about 30 minutes to an hour per session. Most people need multiple sessions for optimal results. Usually, 6-8 sessions spaced a week apart are recommended. Expected outcomes include a gradual reduction in fat and improved body contour.
Safety and Side Effects
Laser fat reduction is generally safe. However, some people may experience mild side effects like redness or swelling. These effects usually go away within a few days.
Comparing with Traditional Liposuction
Traditional liposuction involves making incisions and physically removing fat. Laser liposuction, on the other hand, melts the fat with a laser before removal. This makes the procedure less traumatic and reduces recovery time.
Safety and Regulation Insights
Regulatory Overview
The FDA plays a crucial role in the regulation of fat reduction treatments. They ensure that these treatments are safe and effective before they reach the market. For example, in 2010, the FDA approved CoolSculpting, a popular non-invasive fat reduction method. Clinical trials are essential for these approvals. They test new treatments on volunteers to assess their safety and effectiveness.
Licensed Professionals
Choosing licensed professionals is vital for safe fat reduction treatments. These experts have undergone extensive training and certification. Accredited facilities follow strict guidelines to maintain hygiene and safety standards. Licensed professionals can provide better care and reduce risks associated with the procedures. Always verify the credentials of the practitioner before proceeding with any treatment.
Common Side Effects
Different fat reduction technologies come with their own set of side effects. Laser treatments may cause redness, swelling, or temporary numbness. CoolSculpting could lead to bruising or skin sensitivity. It’s important to be aware of these potential issues. Discussing them with your healthcare provider can help you prepare and manage any complications.
Minimizing Risks
To minimize risks, follow pre-treatment and post-treatment guidelines provided by your practitioner. Ensure that the facility uses FDA-approved equipment. Regularly check for updates on new safety protocols from reliable sources like the FDA website. Adhering to these steps can significantly reduce the chances of complications.
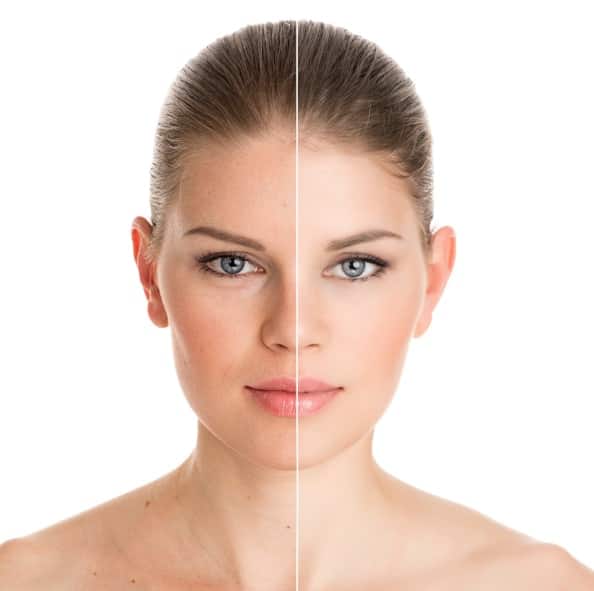
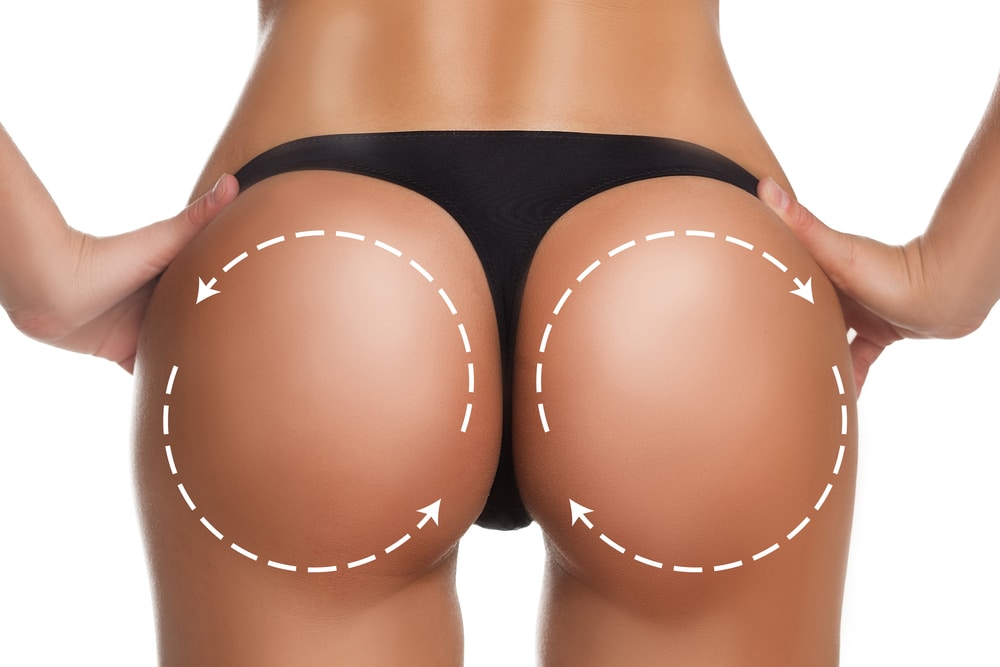
Benefits and Limitations
Key Benefits
Fat reduction treatments offer several benefits. Improved body contour is one of the most noticeable advantages. These procedures can target specific areas like the abdomen, thighs, and arms. This helps in creating a more defined shape.
Another benefit is enhanced self-esteem. Many people feel more confident after seeing the results. Wearing certain clothes becomes easier. Social interactions may also improve.
Long-lasting results are another advantage. Some treatments permanently destroy fat cells. Procedures like CoolSculpting and liposuction can provide lasting changes. However, maintaining these results requires a healthy lifestyle.
Areas Targeted
Different procedures focus on various areas of the body. The abdomen is a common target area. Thighs and hips are also frequently treated. Arms and back fat can be reduced as well.
Each procedure has its specific focus. For example, laser treatments often target smaller areas. Liposuction can handle larger regions. Knowing which areas you want to improve helps in choosing the right treatment.
Technical Details
Fat reduction involves complex biological processes. Fat cells are broken down through different methods. Some treatments use heat or cold to achieve this. Others use lasers or ultrasound technology.
The body then removes these broken-down cells naturally. This process can take weeks or months. Protein receptors in fat tissues play a role in this breakdown and removal process.
Limitations
There are limitations to these treatments. They cannot replace a healthy lifestyle. Regular exercise and balanced diets are still essential for overall health.
These procedures do not significantly impact overall weight. They mainly target localized fat deposits. People should not expect drastic weight loss from these treatments.
Realistic expectations are crucial for satisfaction. Results vary based on individual factors like skin elasticity and body type. Some people may see better outcomes than others.
Real-Life Examples
Consider someone who has tried dieting but still struggles with belly fat. A fat reduction treatment could help them achieve their desired look. However, they must continue to eat healthily and exercise to maintain the result.
Another example is someone with sagging skin after treatment. Skin elasticity affects how smooth the final result appears. Younger individuals generally have better skin elasticity, leading to smoother outcomes.
Suitability and Considerations
Health Status
A person’s health status determines their suitability for fat reduction treatments. Individuals with chronic conditions like diabetes may not be ideal candidates. Consulting a healthcare provider is crucial. They can assess whether the treatment poses any risks.
Target Area Size
The size of the target area affects treatment choice. Smaller areas might benefit from non-invasive options like CoolSculpting. Larger areas may require surgical procedures such as liposuction. Consultation helps identify the best approach based on specific needs.
Skin Condition
Skin condition is another important factor. Loose or sagging skin can impact results. Treatments like laser therapy work better on firm skin. A professional evaluation ensures realistic expectations and optimal outcomes.
Pre-Treatment Consultation
Before undergoing any treatment, consulting with a healthcare provider is essential. They can review medical history and discuss potential risks. This step ensures that the selected method aligns with health goals.
Evaluating Options
Evaluating different treatment options involves considering goals and budget. Non-surgical methods tend to be less expensive but may require multiple sessions. Surgical options offer quicker results but at a higher cost.
Budget Considerations
Budget plays a significant role in decision-making. Discussing costs upfront helps avoid unexpected expenses. Some clinics offer payment plans, making treatments more accessible.
Post-Treatment Care
Post-treatment care is vital for maximizing results. Following specific aftercare instructions provided by the practitioner is necessary. These might include avoiding strenuous activities and wearing compression garments.
Maintaining Results
Maintaining a healthy lifestyle post-treatment ensures long-lasting results. Regular exercise and a balanced diet help prevent new fat accumulation. Staying hydrated and getting enough sleep also contribute to overall health.
Follow-Up Appointments
Scheduled follow-up appointments allow practitioners to monitor progress. They can address any concerns and make adjustments if needed. Regular check-ins ensure that the desired outcomes are achieved.
Final Remarks
You’ve journeyed through the landscape of fat reduction treatments, from understanding non-surgical options to exploring cutting-edge technologies like cryolipolysis and laser fat reduction. These methods offer promising results while maintaining safety and regulatory standards. Each has its own benefits and limitations, tailored to meet your unique needs and considerations.
Now, it’s time to take action. If you’re ready to embark on your fat reduction journey, consult with a certified specialist to find the best option for you. Don’t wait—transform your body and confidence today!
Frequently Asked Questions
What is fat reduction treatment?
Fat reduction treatments are procedures aimed at reducing excess body fat. They can be surgical or non-surgical, with methods like cryolipolysis and laser treatment being popular non-invasive options.
How does cryolipolysis work?
Cryolipolysis works by freezing fat cells, which then die and are naturally eliminated by the body. It’s a non-surgical method, often known as “CoolSculpting.”
Are non-surgical fat reduction treatments safe?
Yes, non-surgical fat reduction treatments like cryolipolysis and laser fat reduction are generally safe when performed by certified professionals. Always consult with a qualified specialist.
What should I consider before choosing a fat reduction treatment?
Consider your health status, treatment goals, and budget. Consult with a specialist to determine the most suitable option for you.
What are the benefits of laser fat reduction?
Laser fat reduction is non-invasive, requires no downtime, and targets specific areas. It’s ideal for those looking to contour their bodies without surgery.
Who is a good candidate for non-surgical fat reduction?
Ideal candidates are those close to their ideal weight with stubborn fat pockets. They should be in good health and have realistic expectations.
Are there any limitations to non-surgical fat reduction treatments?
Non-surgical treatments may not provide immediate results and typically require multiple sessions. They are also less effective for significant weight loss compared to surgical options.